If you're like me, you are going batty trying to endure the last vestiges of this epic winter. Mother nature is such a tease! Apparently she's giving us one more wallop tonight. Oy vey! To hopefully encourage the coming of spring, I've shared a bit of warmth and light with few past projects that I did that are nature inspired. There are many more in my portfolio.
Enjoy!

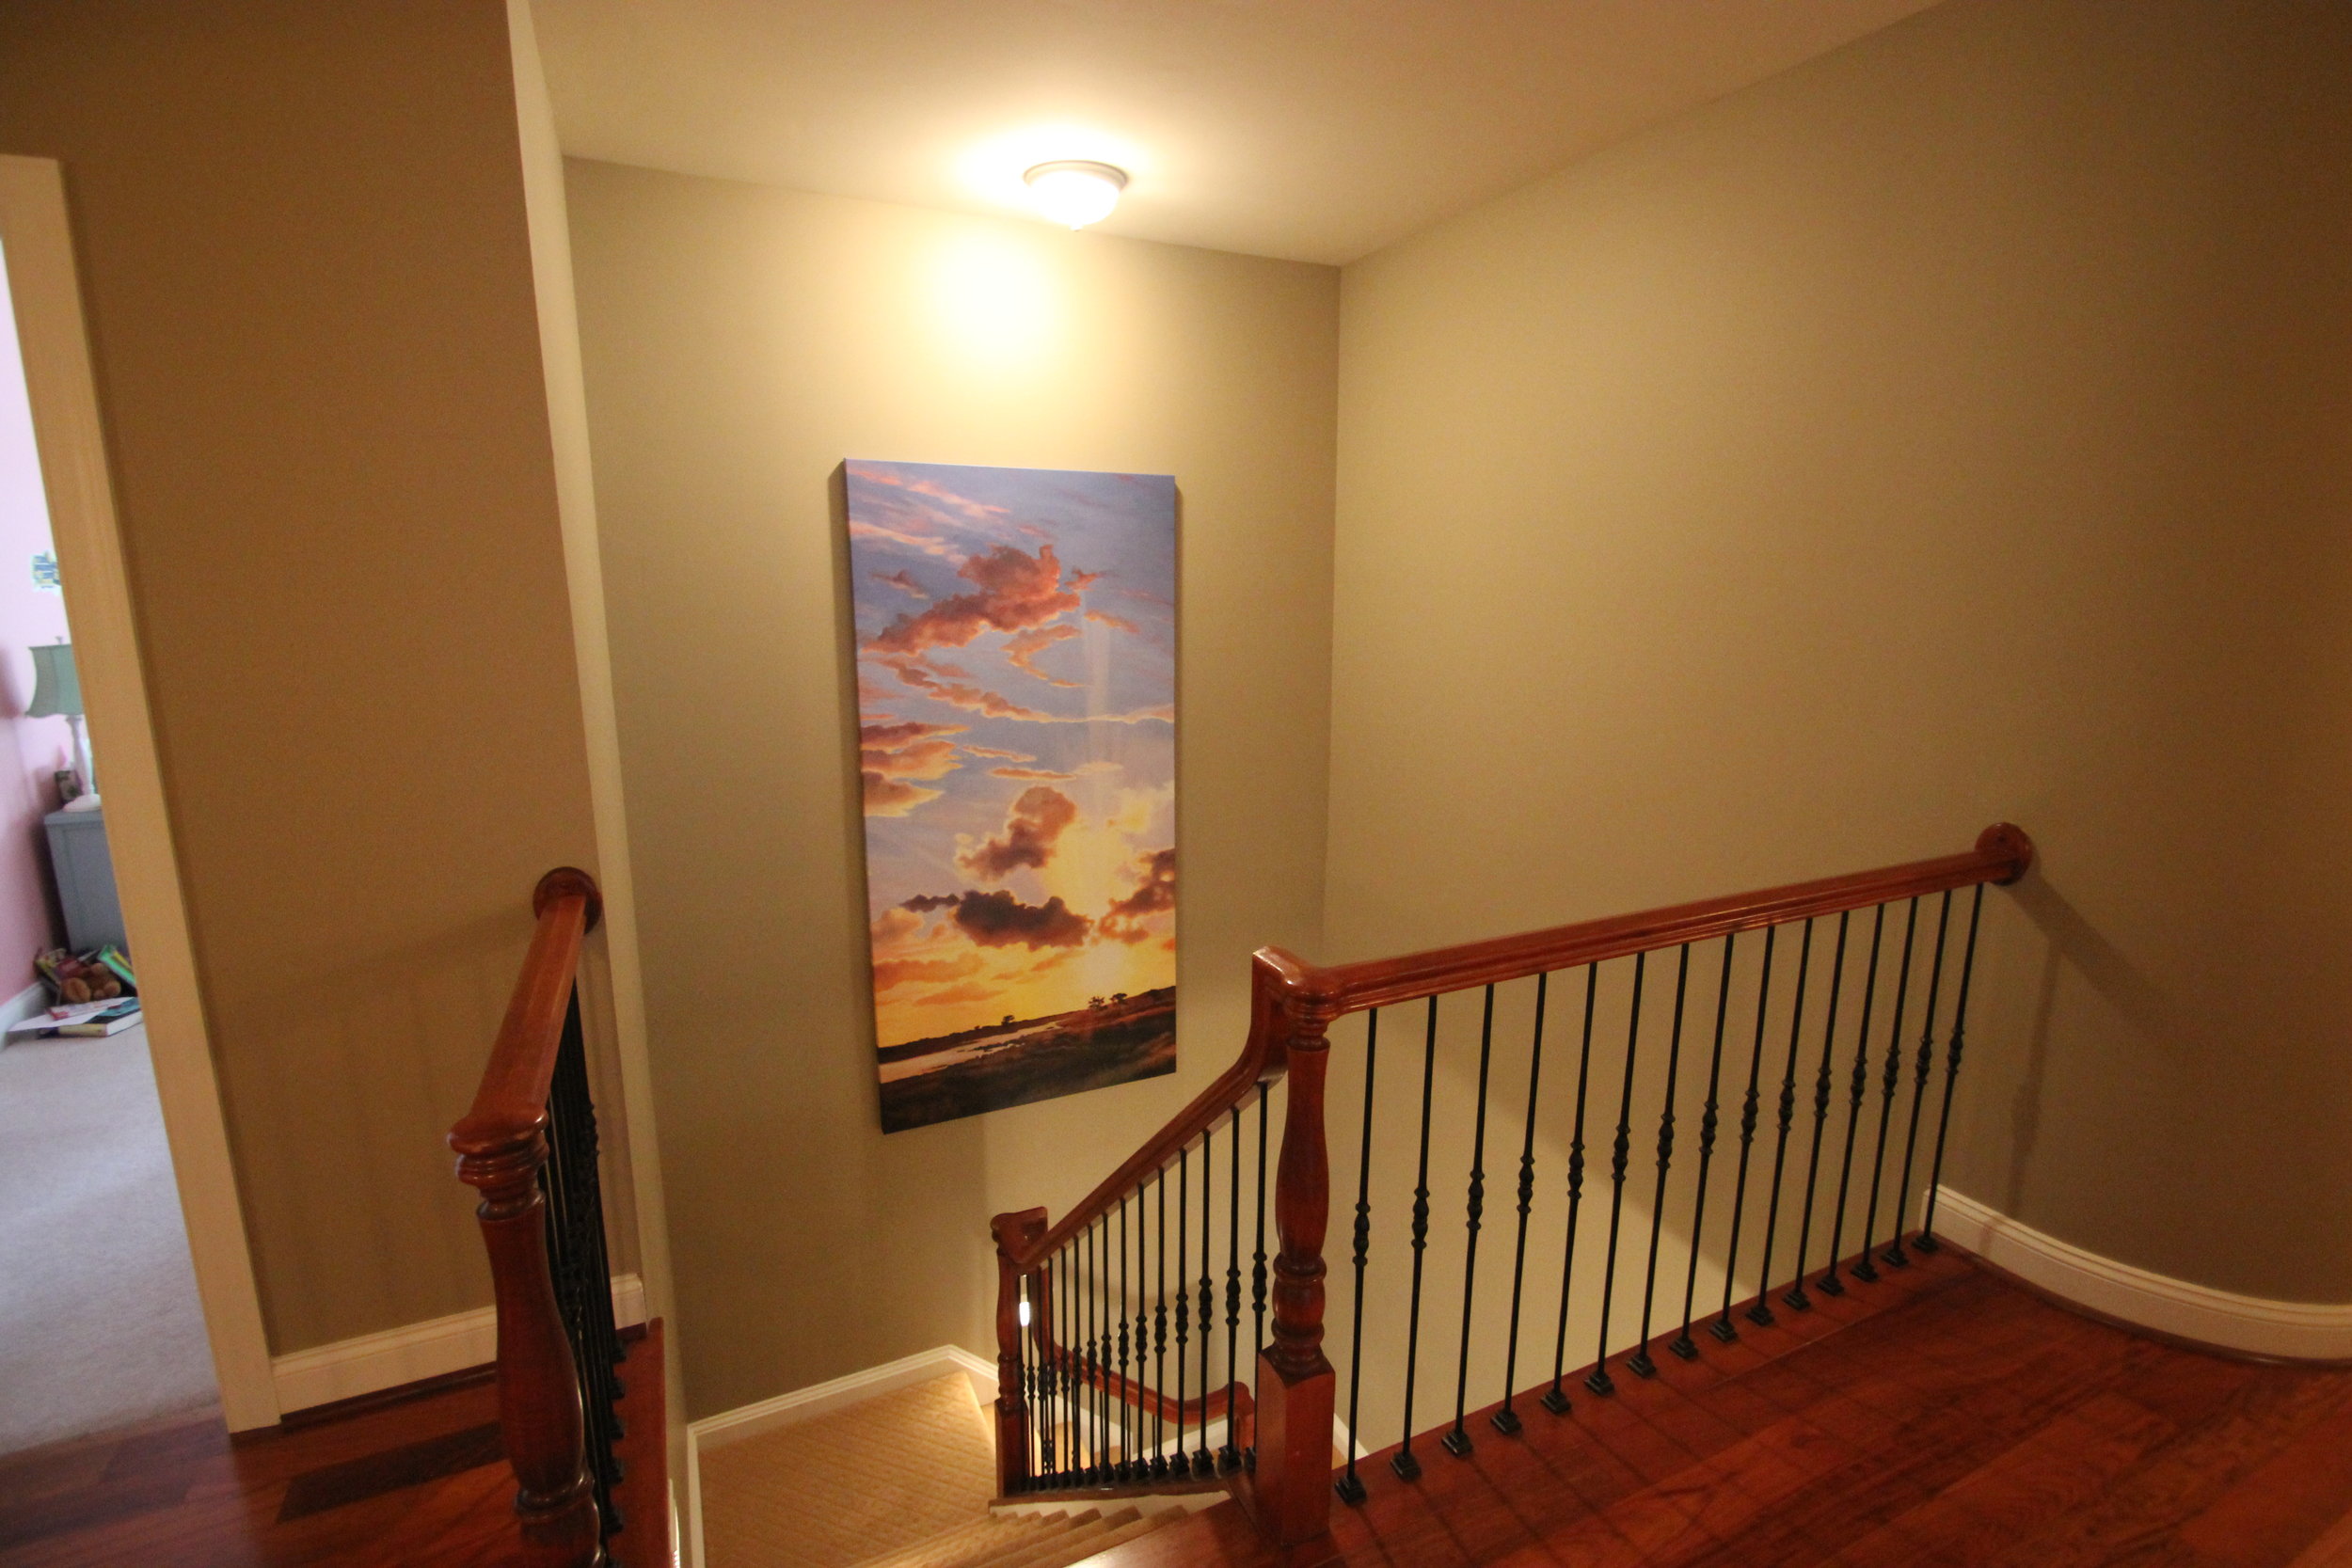
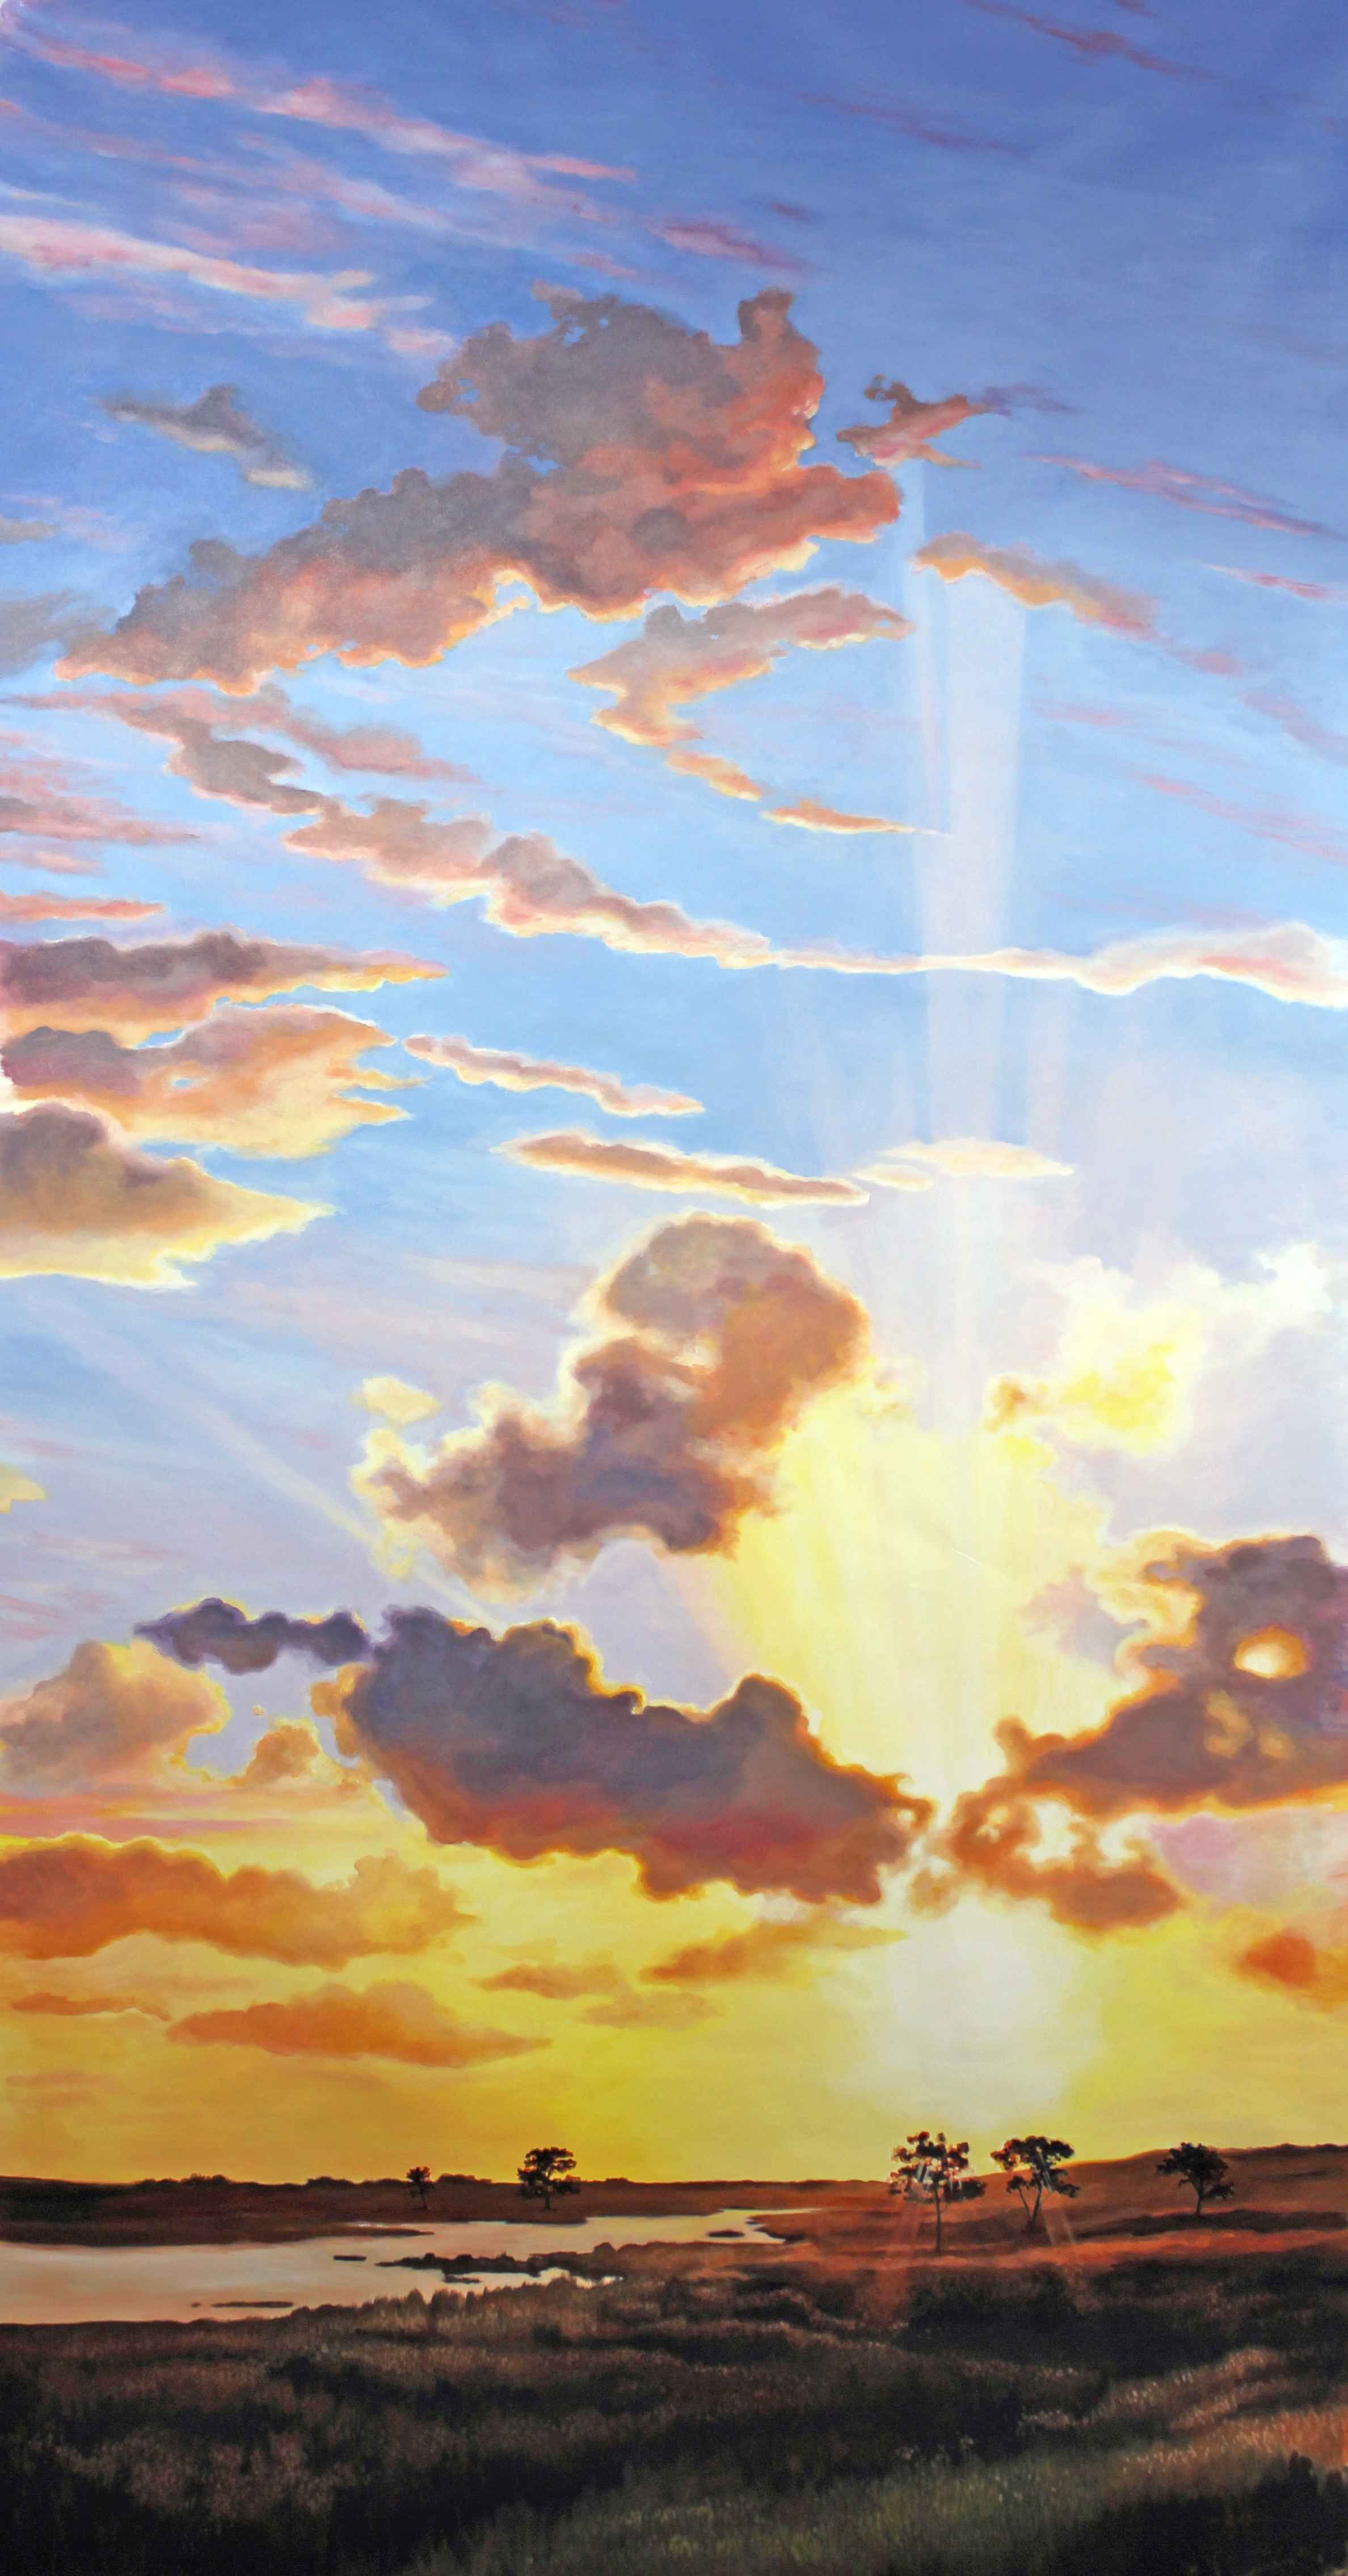
Sun through the Trees
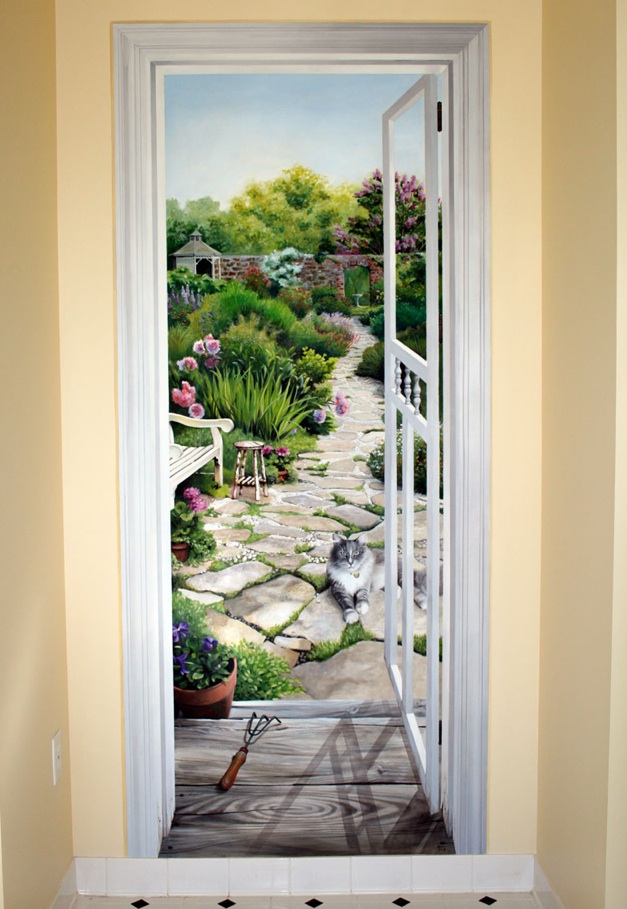
garden door
Garden Doorway (mural on canvas)

Safari Bedroom

Safari Bedroom

Straughan Environmental
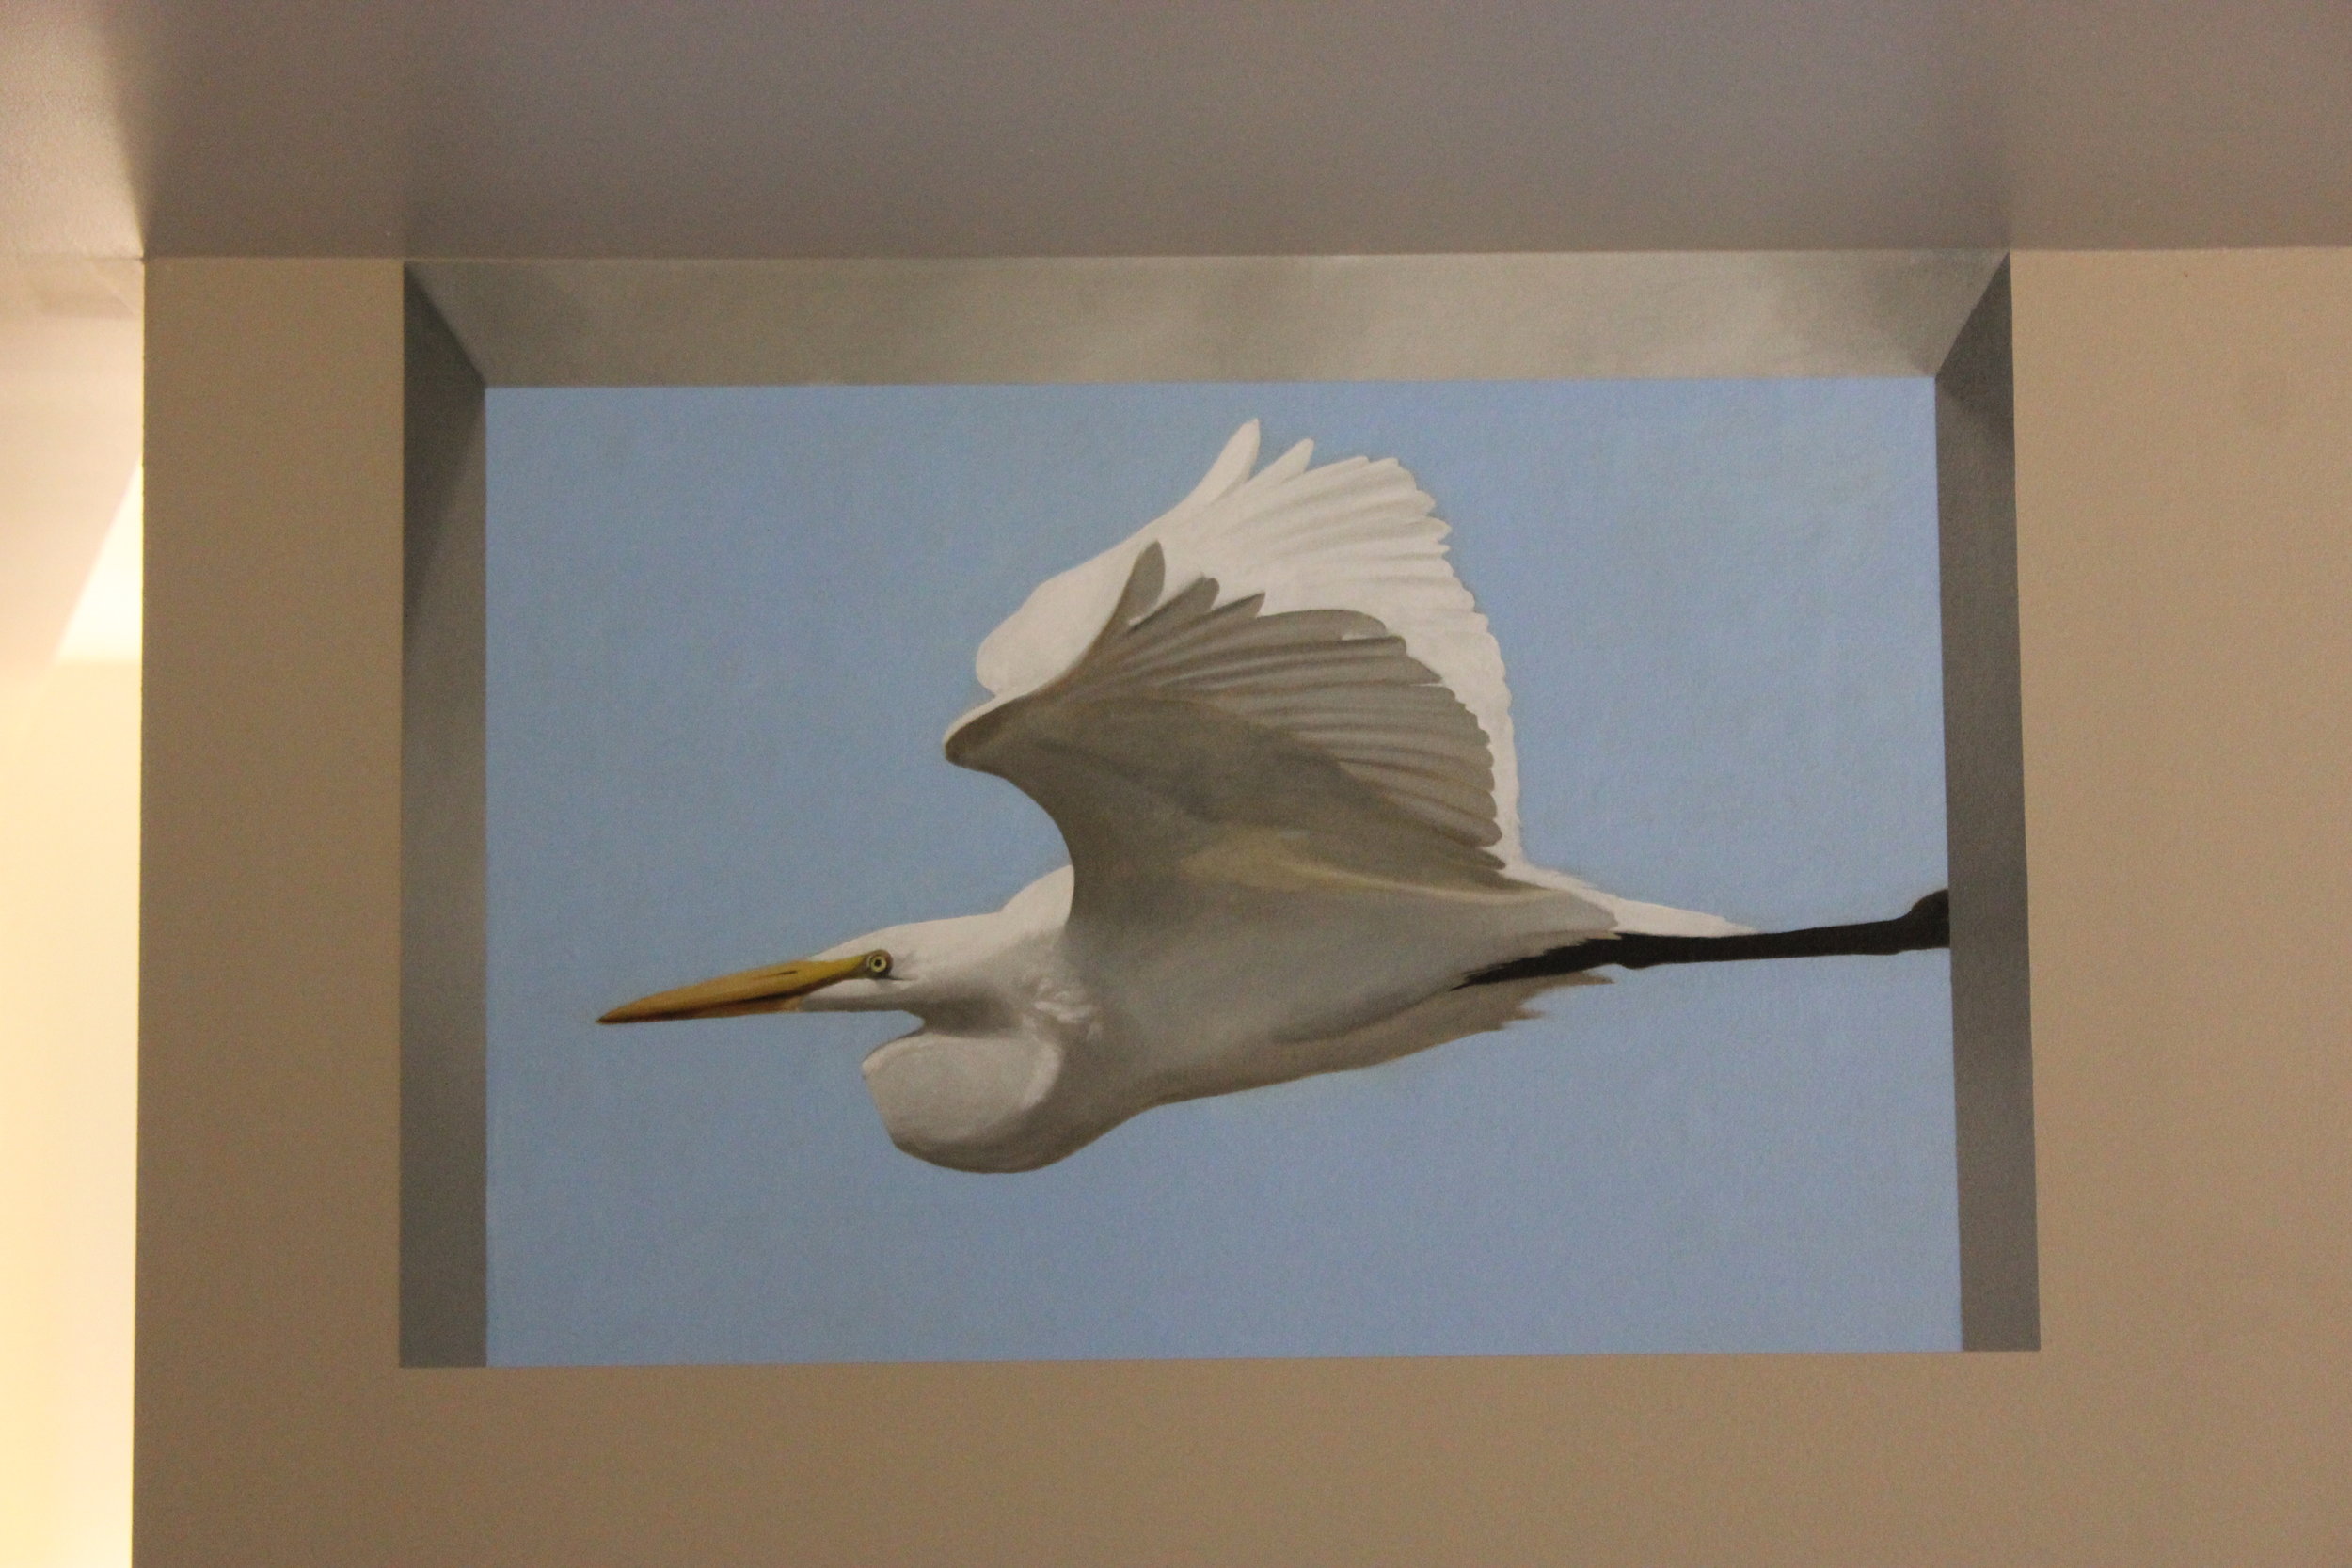
Straughan Environmental

Straughan Environmental

Straughan Environmental

Straughan Environmental

Straughan Environmental

Straughan Environmental

ecmuralsmall
Main Street Ellicott City (prints available)
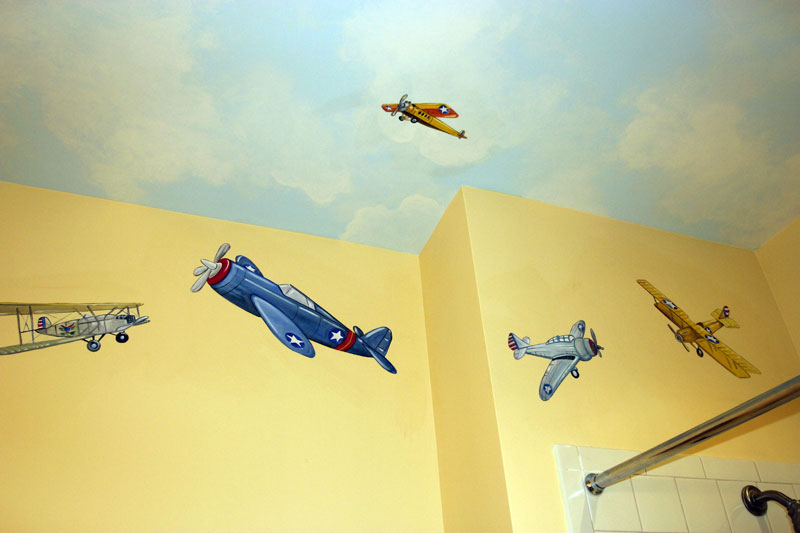
Airplane Bathroom

IMG_0237
Girl's Bedroom

MD State Police Dept of Corrections Training Facility Mural

IMG_1627

IMG_1637
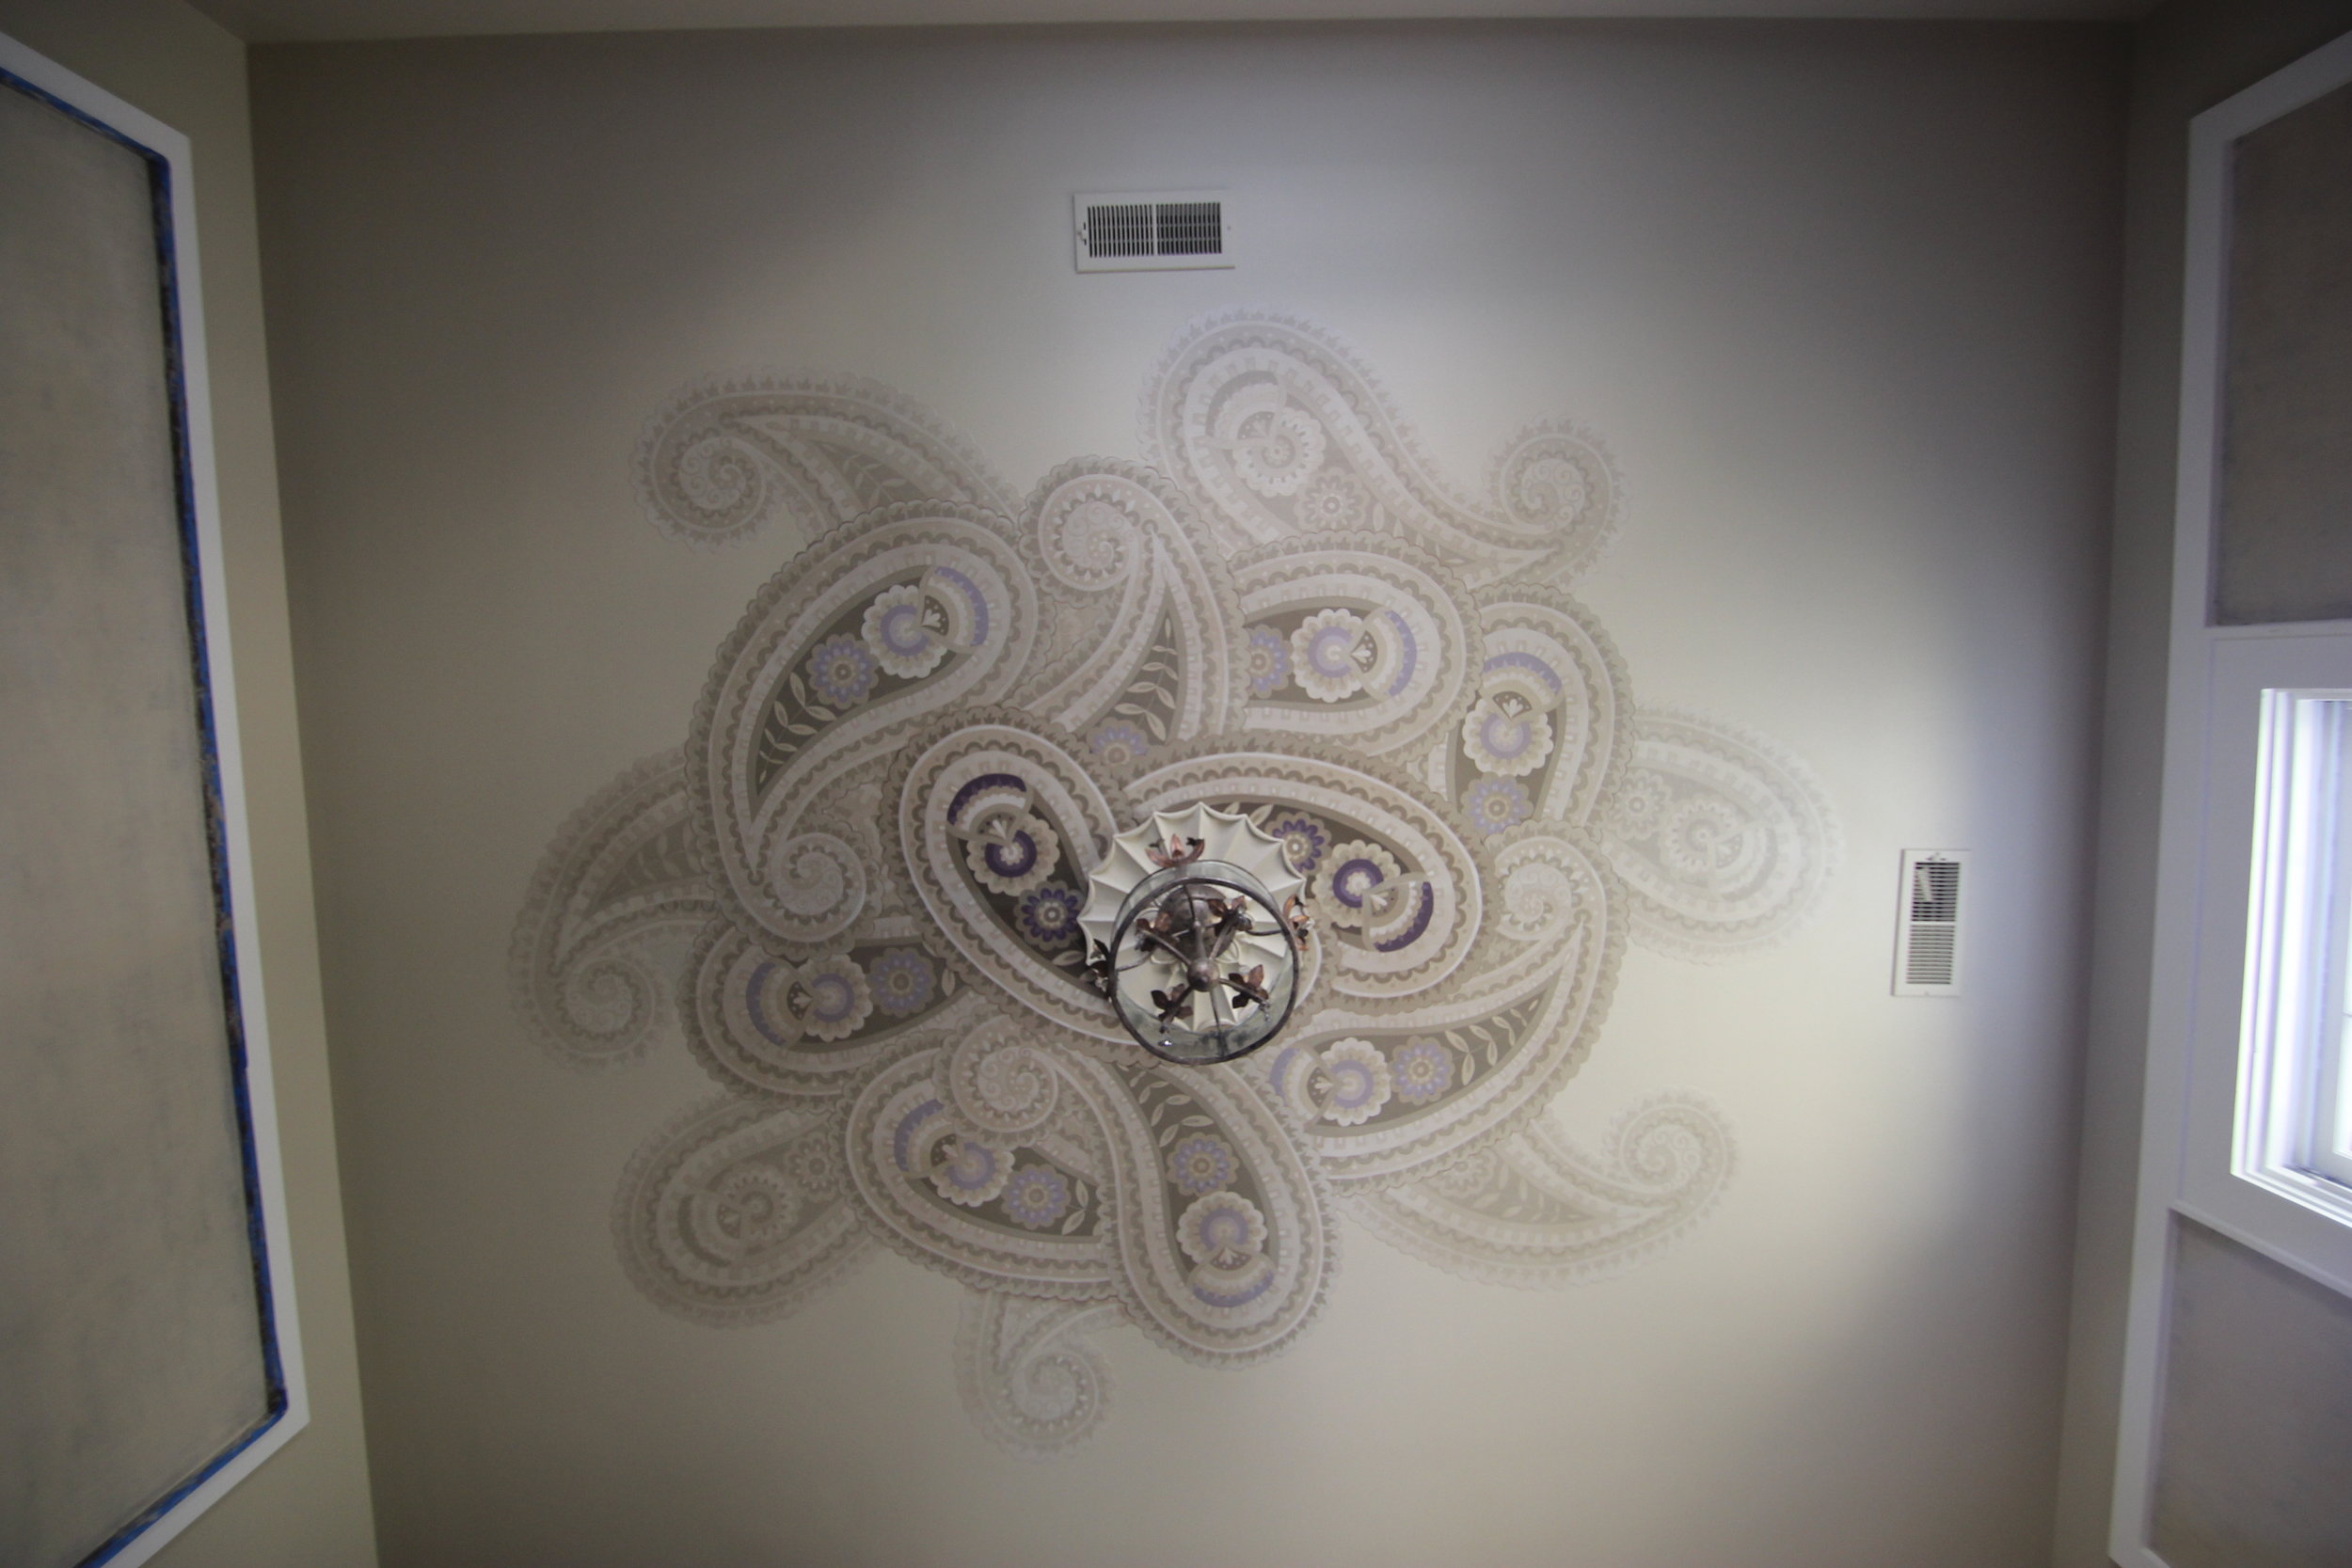
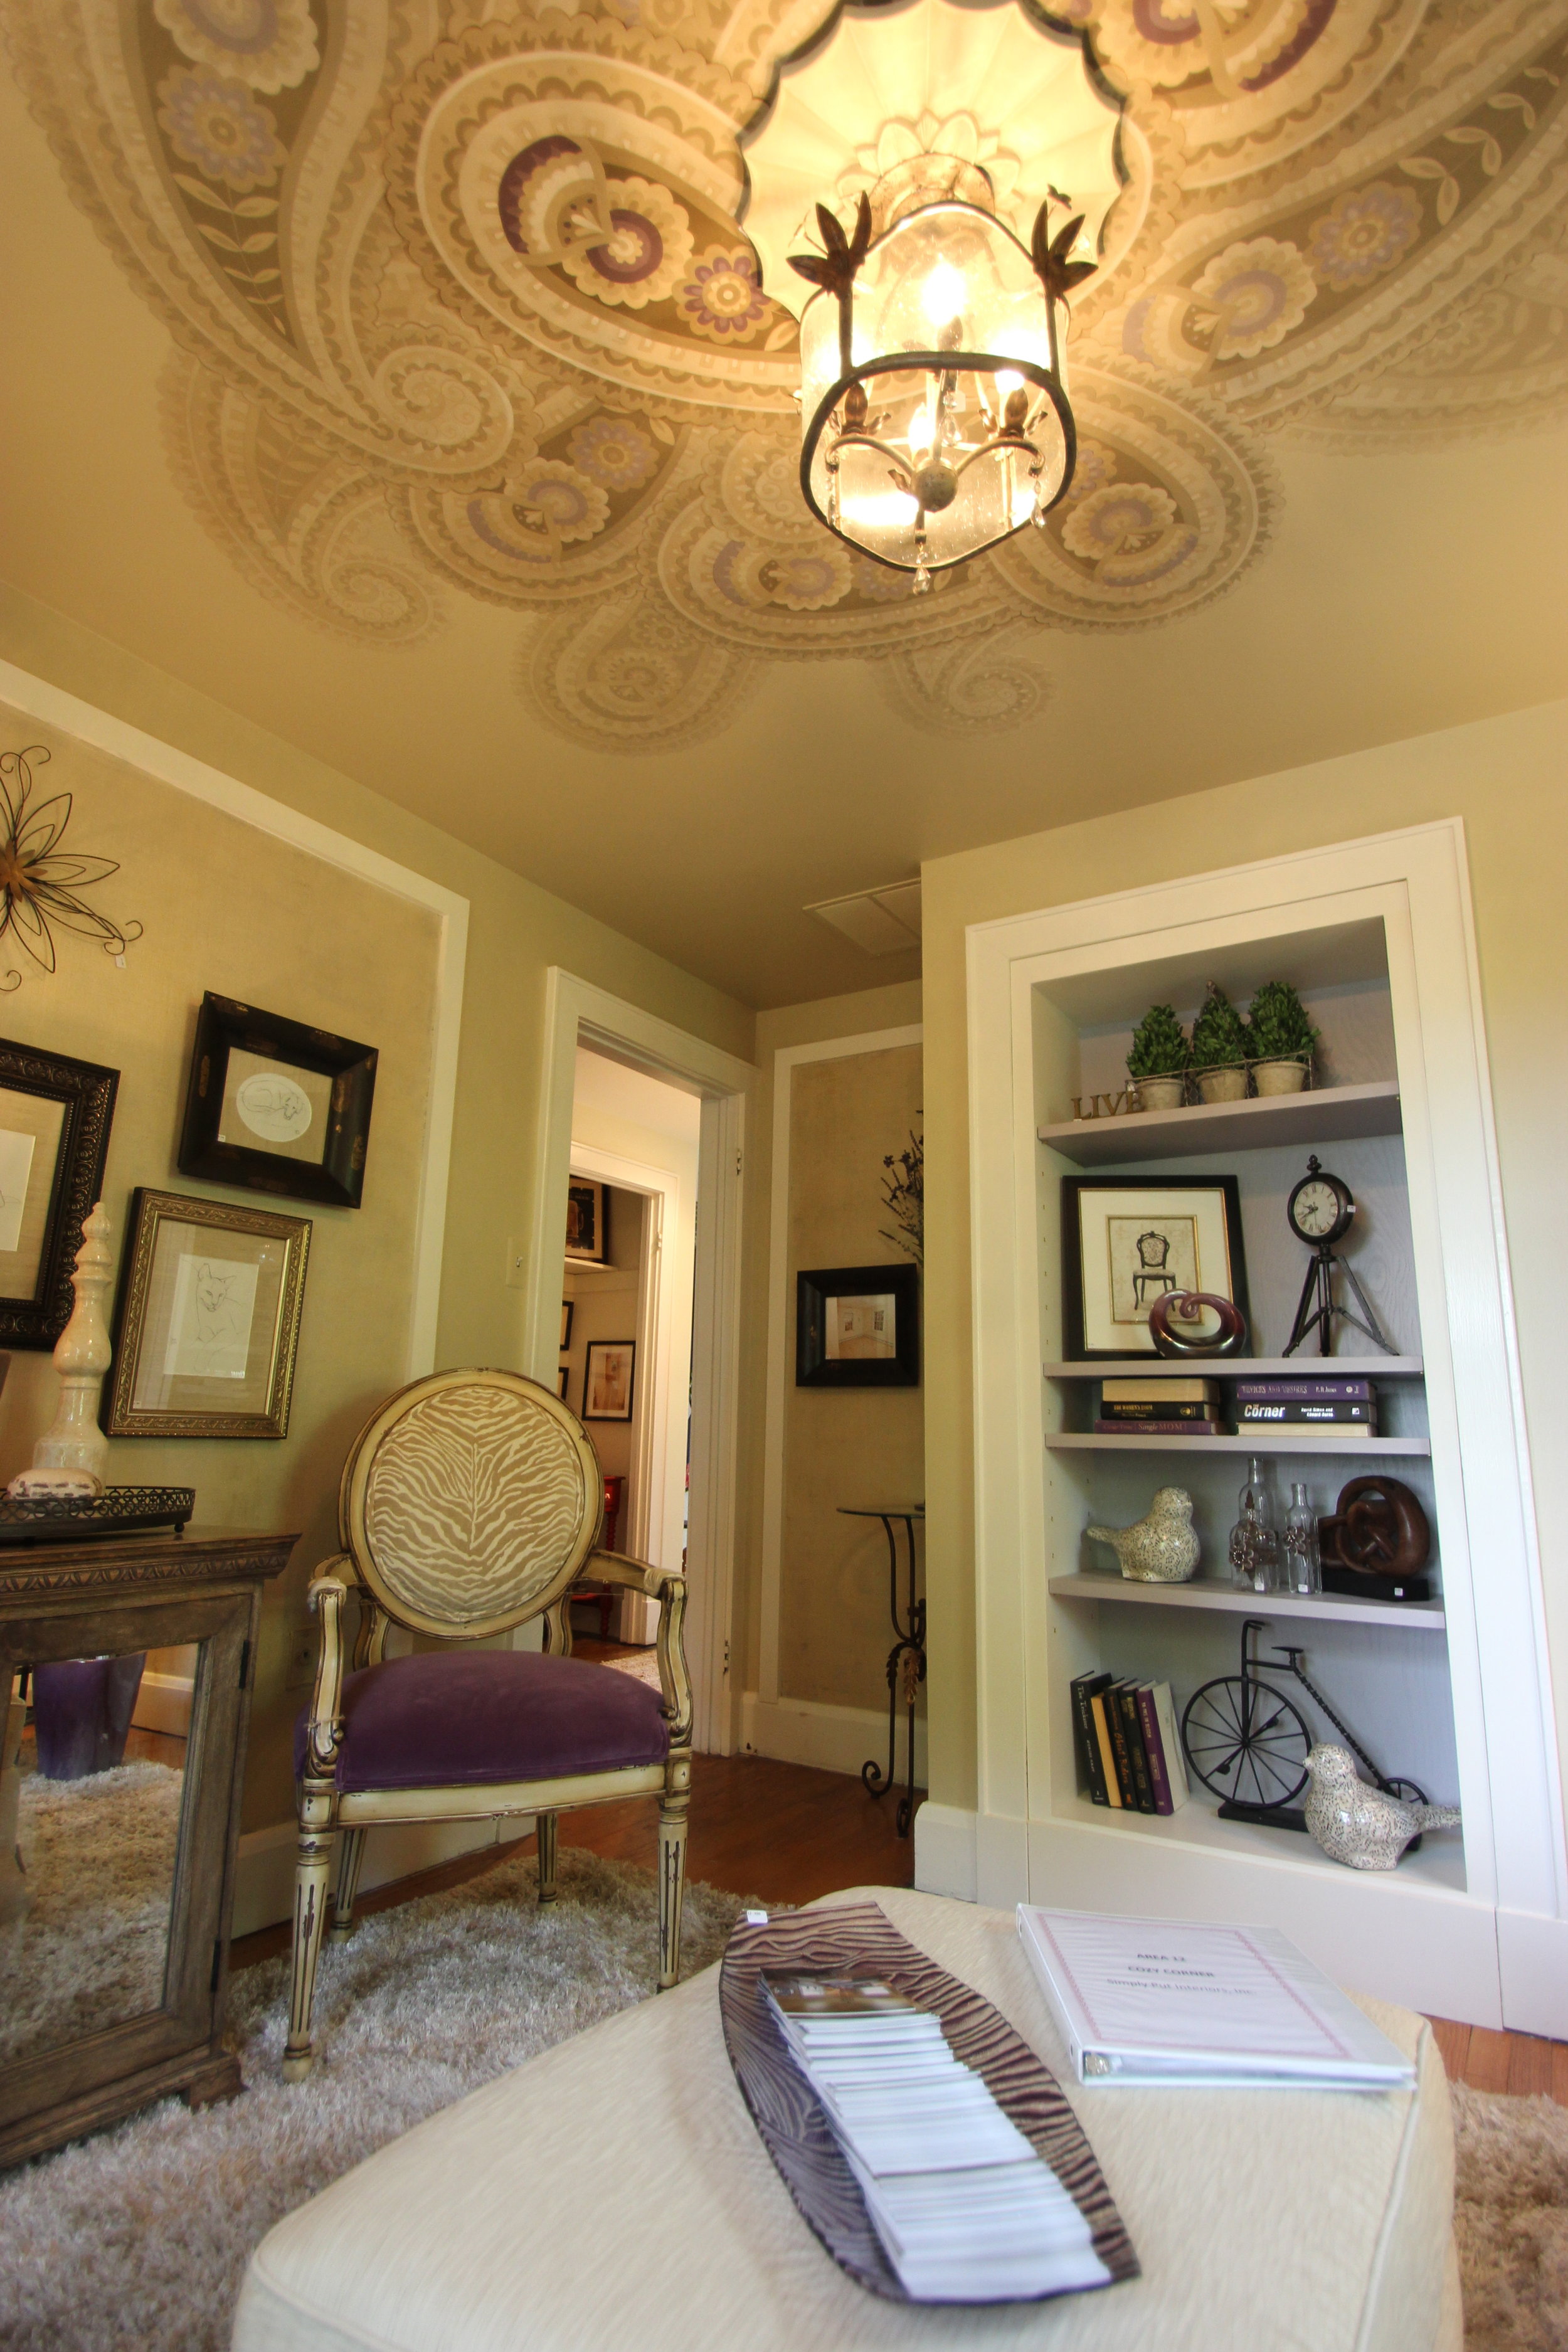
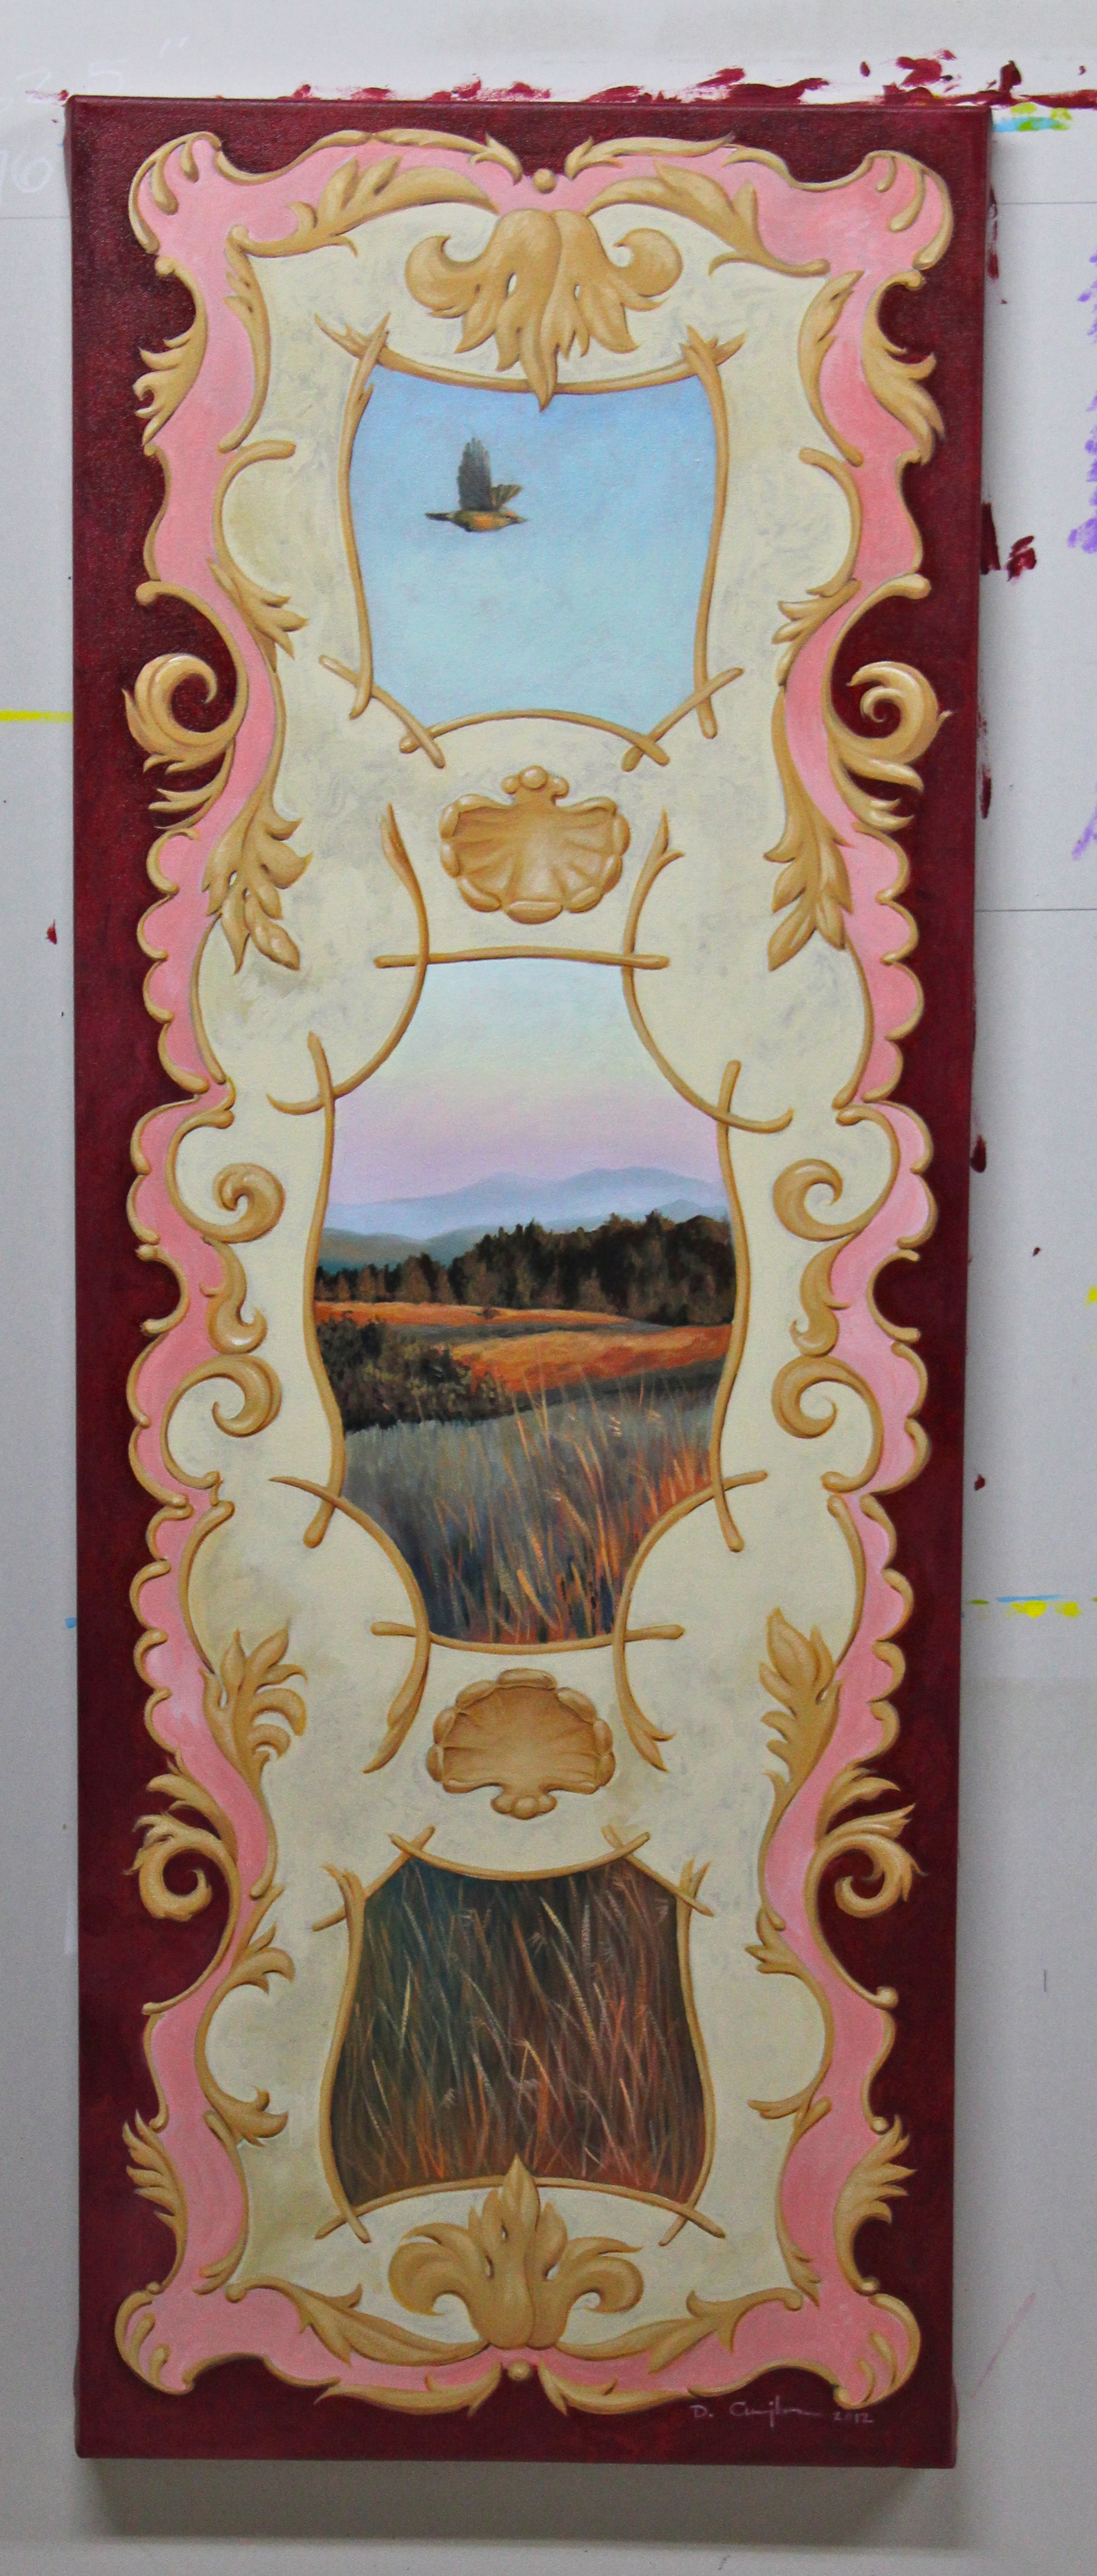
Modern Chinoiserie Mural
IMG_0747

IMG_0743